Building my 3rd Guitar: Always Learning
This project was all about growth.
In the fall of 2015, my goal was to build a guitar similar to my first, but to apply the lessons I learned from my previous projects to improve on my design.
Improvements
I used two TV Jones humbucker pickups instead of one.
Reason for the change: I wanted to improve my tone. It was worth the extra wiring.
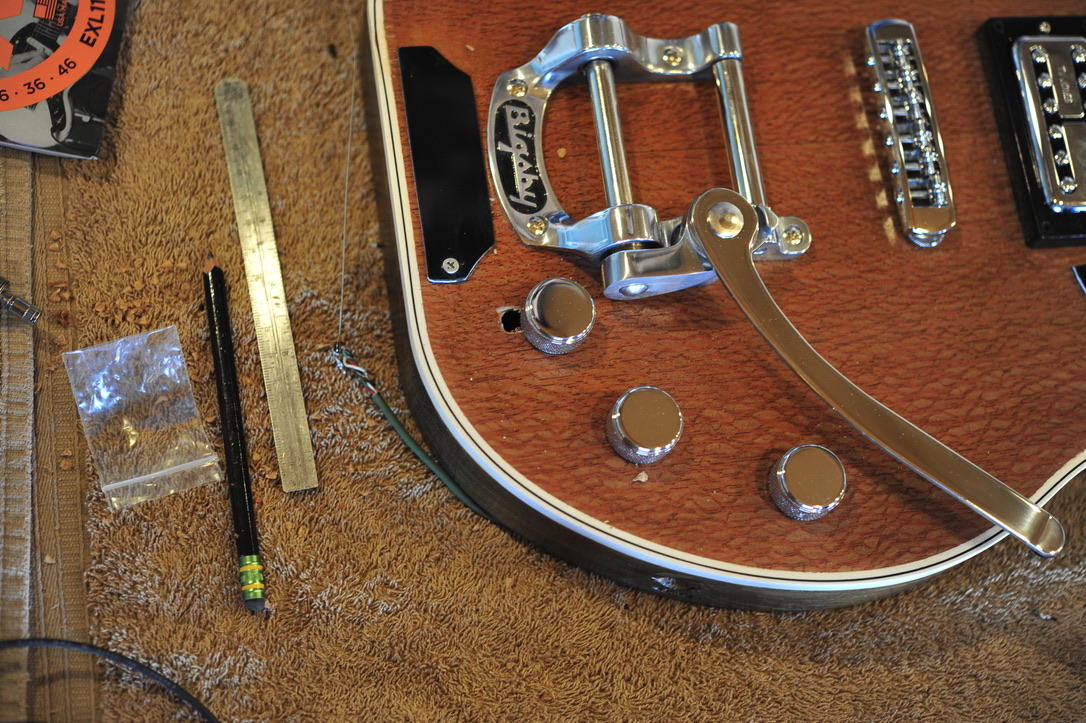
I used real guitar binding from stewmac.com.
Reason for the change: The plastic cabinet edgebanding I had used on my first guitar had started to peel off.
I used a bridge with spring loaded intonation screws!
As I mentioned in my previous blog post, it was a HUGE pain to adjust intonation on my first guitar because I had purchased a cheap bridge.
CNC Work
This project was a great opportunity to expand my capabilities with our shop’s CNC Machine (a computer-guided router). I had experimented on this machine for a few years, but had never used it to complete any major projects.
After many long nights at the computer, and multiple test runs on pink insulation foam, I was finally ready to cut out my guitar body. With nervous excitement, I watched as the machine cut into the lacewood veneer on my alder body blank. Fortunately, my design worked!
Using the CNC to cut out the guitar body:


Experimentation
As I was working on this guitar body, I had an out-of-the box idea. I designed the wiring cavities in such a way that I could feed an LED strip light through the body. I used it to backlight a star constellation I drilled in the front of the guitar. The idea worked but proved to be impractical, especially as I realized that LED lights can cause guitar electronics to hum with unwanted noise. It was certainly worth the try.
The Process
I love the process of guitar building. As a carpenter, I've always enjoyed working with my hands to create pieces of functional art. Here are some pictures from different stages of this project:


After final assembly and wiring was complete, I was pleased with the results from the changes I had made. The additional pickup gave me more tone versatility and the higher quality bridge was much easier to adjust.
Eventually, I decided to shield all the wiring cavities with copper foil and metallic paint. This was another valuable learning experience. I found that this helped eliminate the interference noise I was getting.
Overall, this guitar project was a very rewarding experience. I saw visible growth as I applied the lessons I had learned from my past projects.


“I love the process...” says my son, the luthier!🎸
ReplyDelete